Detailing & Finishing |
Detailing & Finishing |
 | In keeping with the Star Trek theme, the sconce is made to resemble the Star Fleet insignia. It is cut out of 1/2" MDF with the front side routed to give it a beveled edge. It will be finished in silver and black with a 2' piece of rope lighting fastened to the back. The sconce is approximately 2' in length. I had originally intended to mount between 4 and 6 of them in the theater. I have since decided not to put any in the theater and to just use one in the entranceway outside the door. |
 | Indentations have been routed out on the back to receive the large end caps of the rope light. The MDF has also been given several coats of polyurethane sanding sealer. |
 | Here the rope lighting (2' section) has been installed using the plastic, self stick rope light holder available in 6' lengths at your local Home Depot. The back of the sconce has also been painted a flat bright white to maximize the light from the rope. |
 | Here the sconce with the command emblem applied is mounted on the wall just outside the theater. |
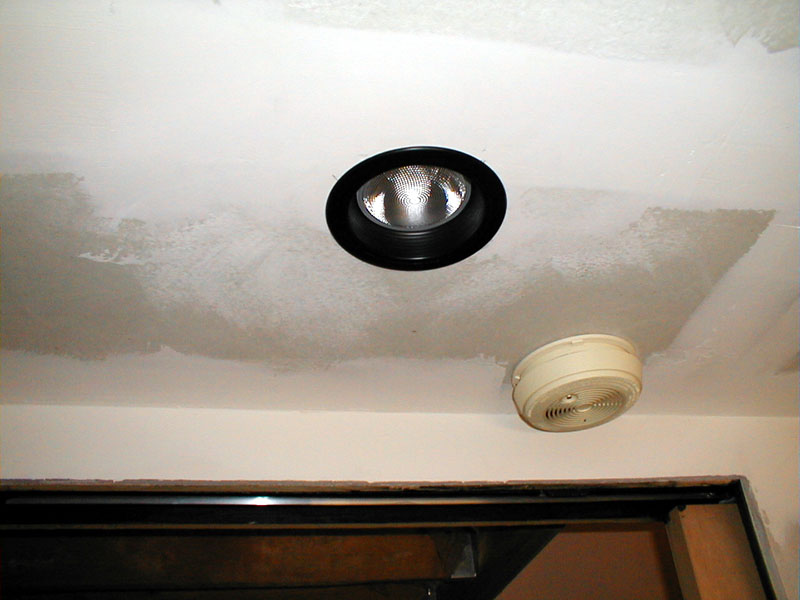 | The first recessed lighting unit has been wired in and test fit into its opening. The original basement smoke detector is behind it. |
 | No, this is not a flying saucer! It is the central light fixture over the middle of the room. |
 | The fixture contains 8 - 20 watt halogen lights surrounding a 120 watt florescent light. |
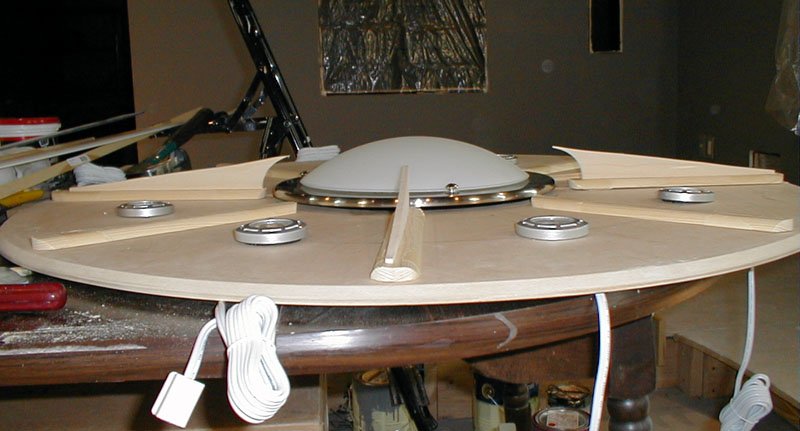 | At this stage I am still experimenting with shapes and details. It isn't finished yet! |
 | The fixture has been assembled and painted aluminum. |
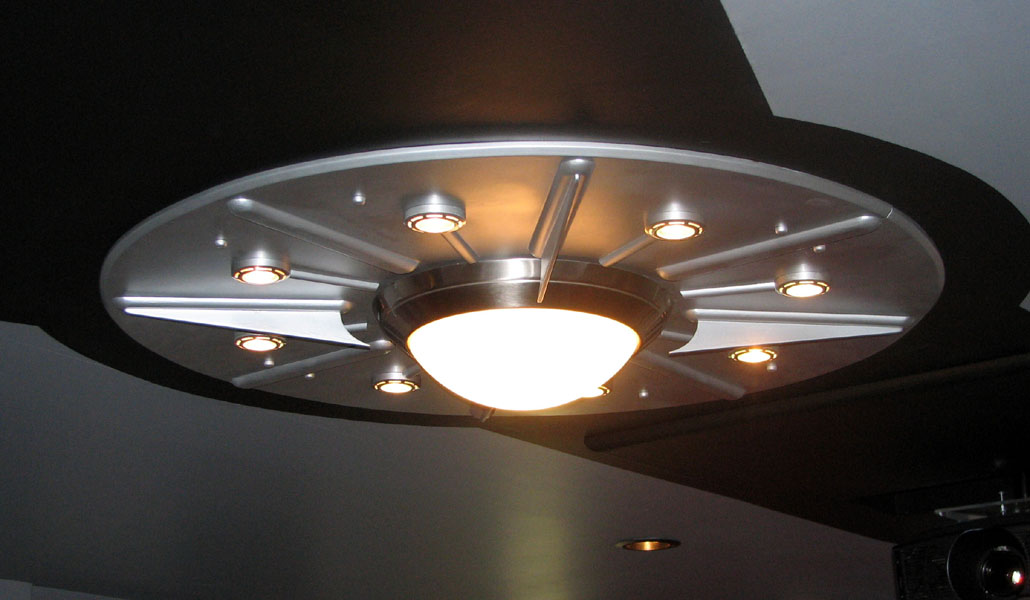 | Here is the fixture mounted on the ceiling with all lights working. After some time, I noticed the central flourescent fixture was interfering with my IR remote control system. To eliminate the problem, I replaced the flat center light with a much deeper light which utilizes conventional bulbs. Problem solved, plus I like the appearance of the larger glass doom on the new light and it can be dimmed. |
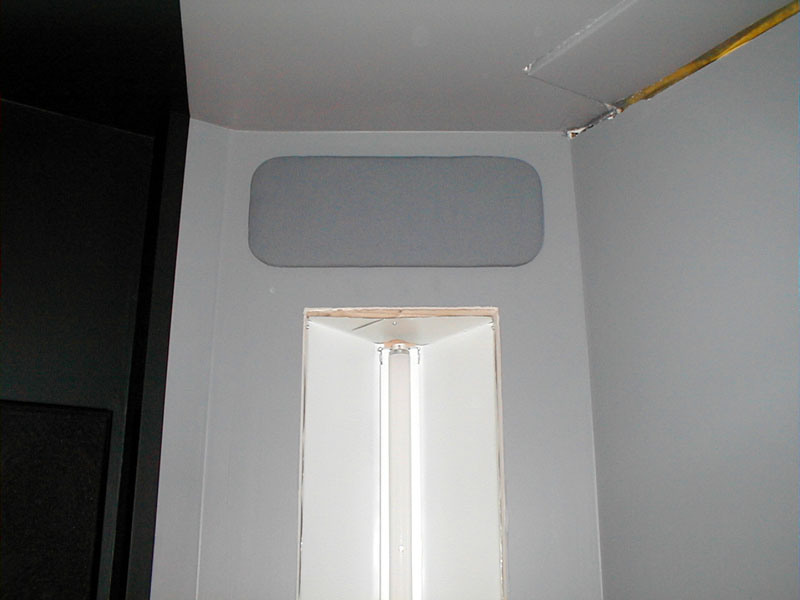
 | Here is the first "viewport" moulding for the four viewports in the theater. |
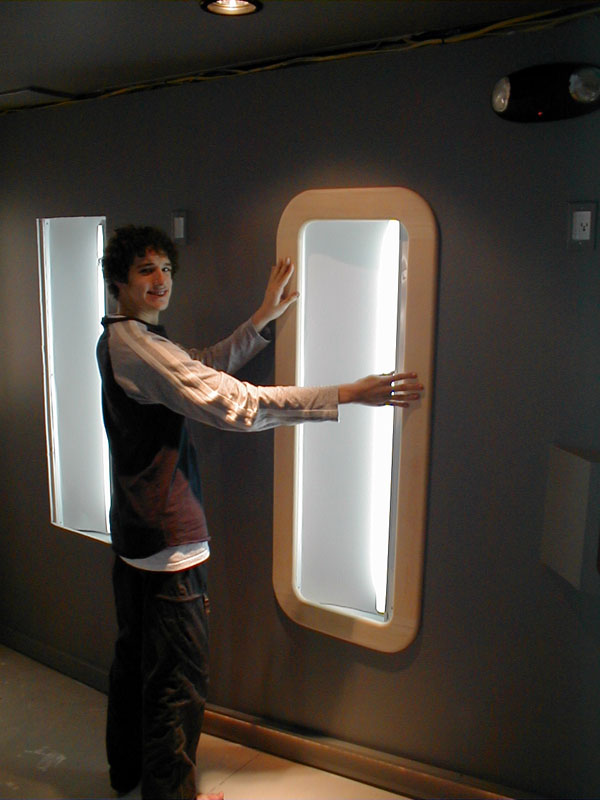 | My son is test fitting the frame the opening. |
 | Another shot of the frame on the viewport. Eventually, the opening will have piece of plexiglass installed from behind and form an illuminated star field. |
 | The first finished fabric panel is installed over the computer display opening. Th panels on the screen wall are finished in this dark gray material while the other walls will use a combination of silver and red cloth. |
 | An emergency lighting system has been installed. |
 | The rear surround speakers have been installed. |
 | The framing for the computer displays is completed along with the addition of several of the sound absorbing panels. |
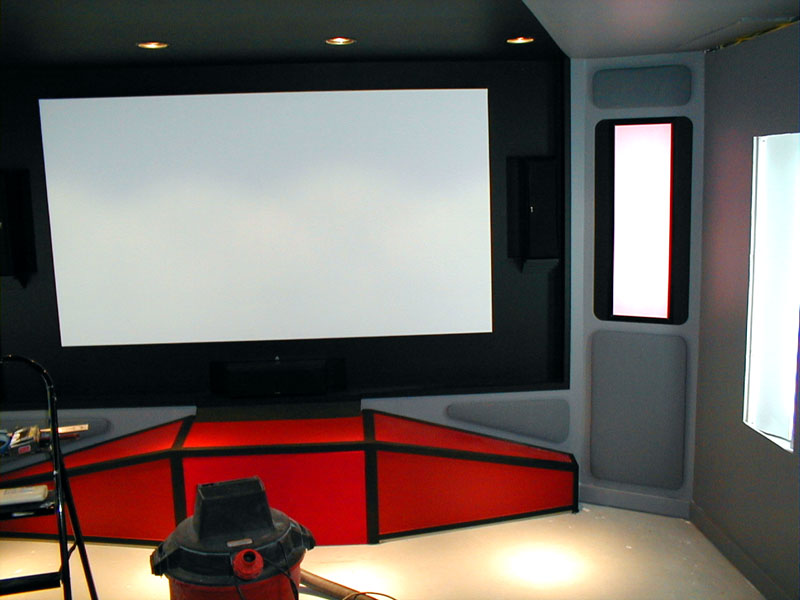 | Another shot of the front wall. |
 | The projector finally arrived on 11/25! It is the Sony Cineza VPL-HS20 LCD projector. |
 | Another shot of the projector and DIY mount. |
 | The moulding is installed around the stereo shelves. It will eventually be painted a brushed silver. |
 | Here the door moulding is shown primed and ready for installation. The slot to the left of the door will contain a back lit opaque plexiglas insert. |
 | Here the door moulding has been installed. |
 | Here the DVD shelf trim has been installed. |
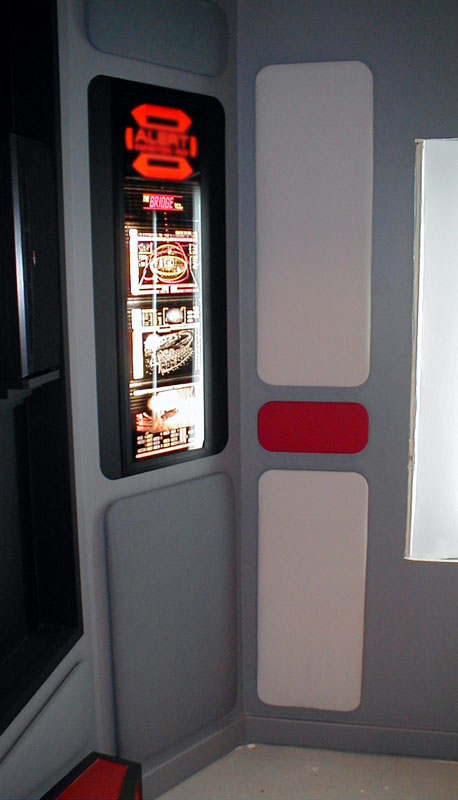
 | The first LCARS* computer screen graphic has been installed (intentionally blurred*). Underneath it will be three more computer panel graphics. |
 | More of the computer graphics are in place along with some of the wall fabric panels (intentionally blurred*). |
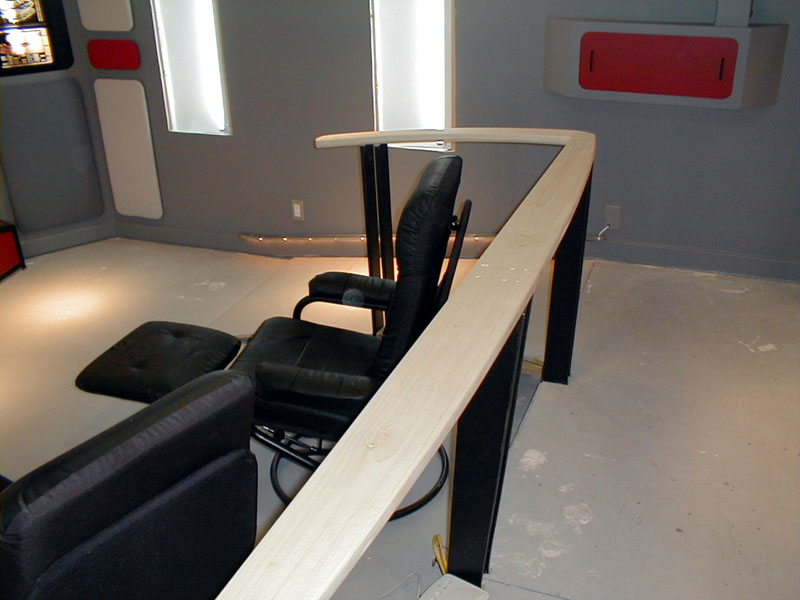
 | Construction of the Bridge railing has begun. The uprights have been cut and shaped but are not yet mounted. |
 | Another shot of the railing being built. |
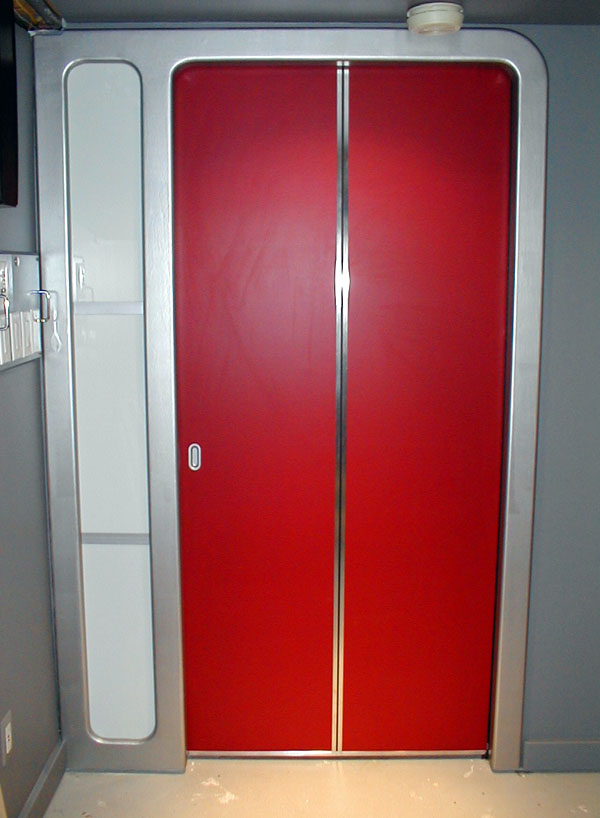 | The door has been painted and mostly detailed. A few more trim pieces need to get put on. |
 | Another shot of the door partially open. |
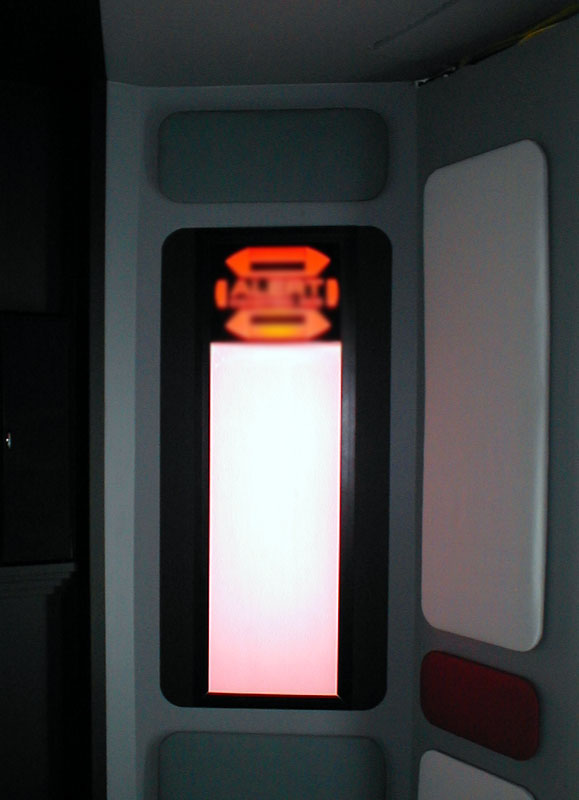
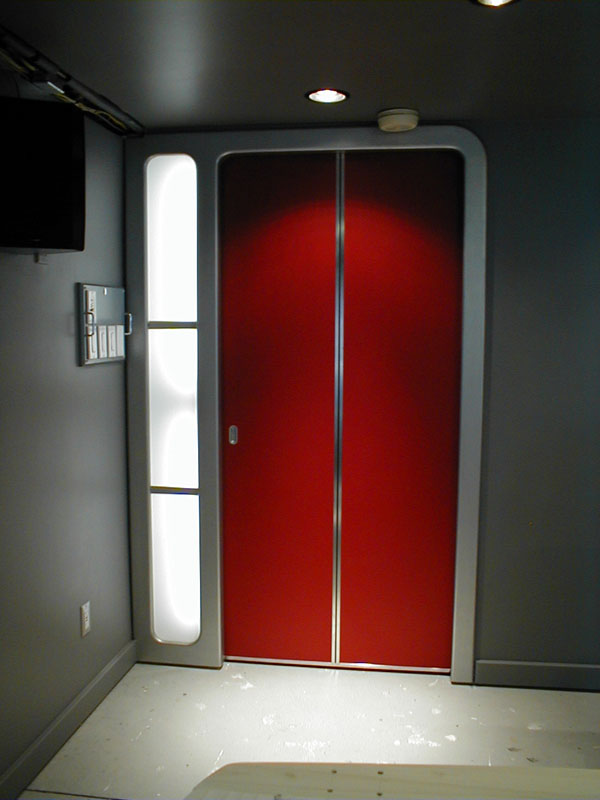 | The lighting to the side of the door has been installed. |
 | Painting the railing stanchions. |
 | The railing has been attached to the stanchions. |
 | Another shot of the railing under assembly. |
 | The rope lighting illuminating the ramp has been installed. |
 | Carpet samples under consideration. We have decided to go with the middle sample which is black with white spots. Curiously enough, the carpet pattern is called Stargate! |
 | My pair of Berklines 099's arrived for the front row, shown here in the garage without the backs in place. |
 | Now that the Berklines have arrived, I need to spruce up the rear seating by adding cup holders. Here is a shot of a prototype I am working on. |
 | Here is the second version of the cup holder mounted on one of the second row chairs. This one uses a cup holder insert I picked up from Pep Boys automotive store. |
 | Here is the final version of the cup holder as seen on one of the chairs. This one uses a cup holder insert from a boating supply store. |
 | The railing has been painted red and the inside of the riser has been finished and painted black. |
 | The back wall is nearly finished. Only the addition of a couple more fabric panels to go. |
 | Another view of the back wall from the opposite angle. |
 | The fire extinguisher cabinet on the rear wall has been completed. |
 | Here the door is open. |
 | The carpeting has arrived! |
 | The lower part of the stairs leading to the theater. |
 | The landing at the bottom of the stairs. The moulding around the door and light have yet to be installed. |
 | Looking into the theater from the doorway. |
 | This shot is from the front of the theater. |
 | This is a test install of the first "viewport" window. The streaking effect of the stars is caused by camera movement. |
 | The last of the 56 acoustic wall panels is put in place Jan 23, 2005. The panels are covered in a fire rated Dazian PD cloth. |
* LCARS is the acronym used for the computers on Star Trek. The graphics used to simulate these screens were produced by the many Star Trek fans and are available from several sites on the web. The images are blurred as I do not own the copyright to them.